Showing posts with label craft fair. Show all posts

October 6, 2010

Test Tube Goodies!


Since most of my craft fairs are held at schools, I always try to do a few "home team" crafts. My next show is home to the Fighting Eagles!
I took empty plastic test tubes and filled them with yummy Jelly Bellys and then decorated the outside. How cute and easy is that...Now, I just happen to live 10 minutes from a candy factory, yes a candy factory, where I can buy almost any color of anything I want. I have put Skittles in these tubes, but M&Ms are too big. Oh, and Sixlets & Nerds also fit...
Here are the tubes empty and boring...
Just waiting for some crafty lady to decorate them up! I can't resist making these, 
and they do sell nicely, too!

October 4, 2010

Fall tags


Edit: These are now in my ETSY store!

We have had a cold snap lately and all I can say is BBRRRRR! We have been scrambling to find gloves and winter hats. It is cold up there in the bleachers...
Anyhow-on to more crafty goodies! I am still on the Marvy punch kick and these tags were inspired by the cooler weather. Our leaves have actually turned colors in two days time...Just beautiful.
Don't you just LOVE these tags!! I do! The stamp set is from PTI and is my all-time favorite (so far...)
The set comes with 3 different wreath images plus berry clusters and tiny flowers. Imagine the possibilities!
I actually have a berry wreath hanging in my dining room.
Here is a close-up of the wreath:
I used brown ink for the twig wreath and black for the sentiment. Burnt orange ink made up the berries and I found it at the dollar bin @ Michaels! 
Here's a tip: To get the various shades of orange you see on the wreath, just stamp your image then rotate the stamp and stamp again, rotate and stamp again! Do not re-ink! The end result gives a dimensional feel to your stamped image.
To finish the tag I inked the edges with brown, like always, and tied a brown satin ribbon to the top. Enjoy!

September 15, 2010

Clothespin Clips!


Thank you, April, for your kind comments!

OK, now I jump to a winter project! I plan on selling these at my upcoming craft fairs.
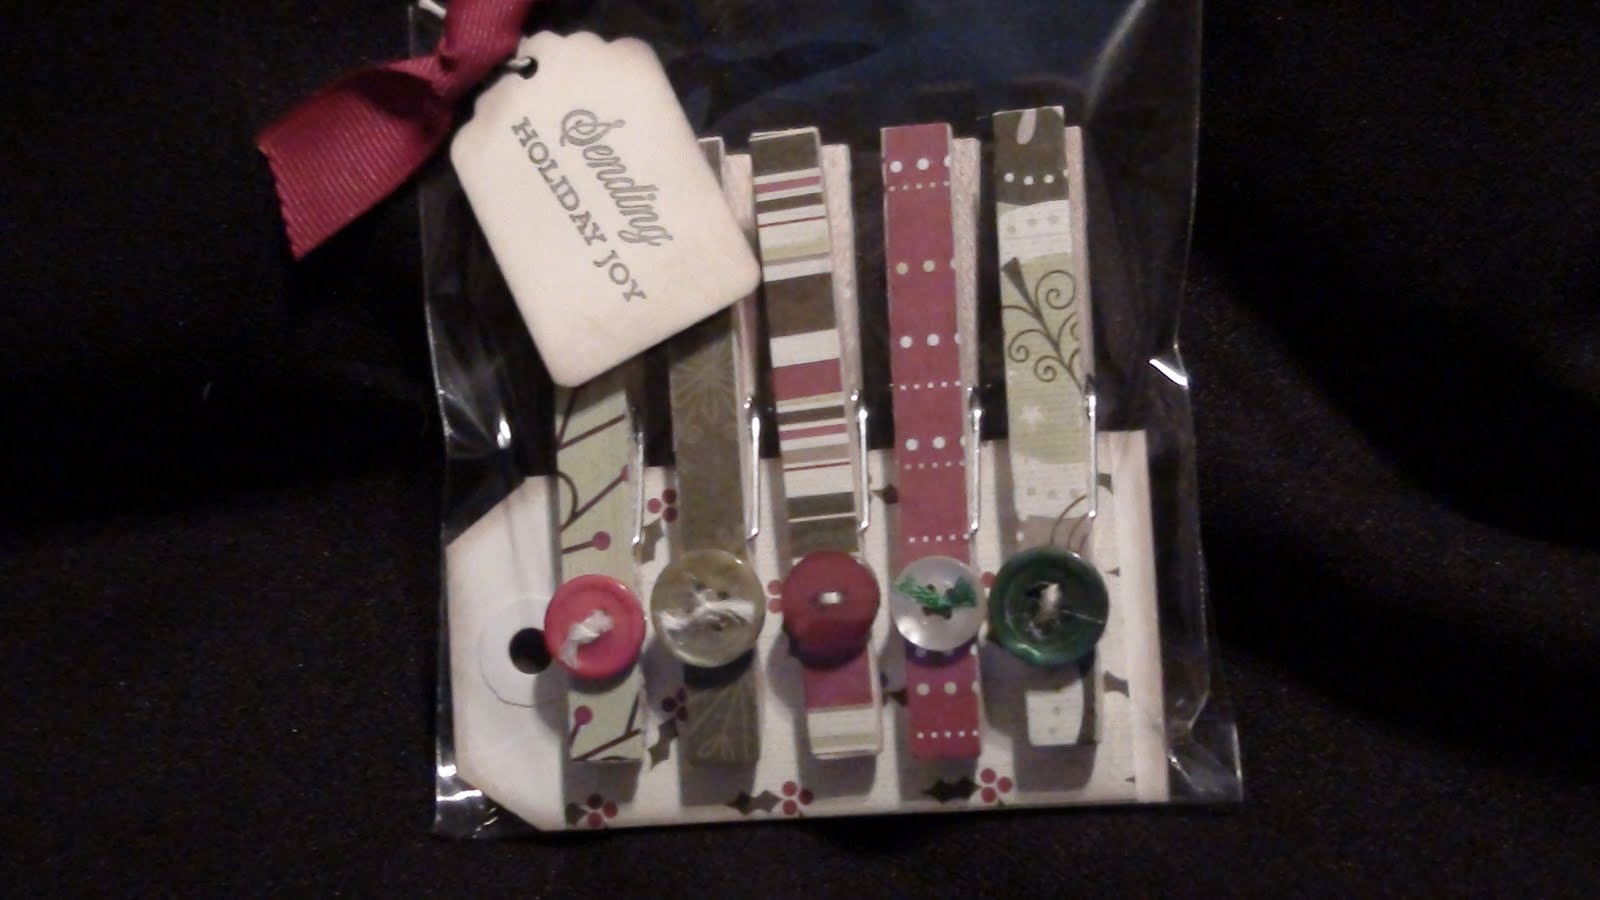
Clothespin crafts are all the rage now, so I jumped on the bandwagon. (Remember the goose craze of the 80's???) The project didn't seem complete until I added the punched tags!
I simply covered both sides of wooden clothespins with strips of paper. (I used white tacky craft glue.) Then I mixy matched some buttons, tied them with strings and adhered them with glue dots. I clipped the clothespins to a larger shipping tag and put them in a clear bag for protection.
Here is a close-up of the buttons and twine I used for the Fall set. I just love the mini leaf punch...
Next, I decorated the outside of the bag with punched images and a stamped tag. I also inked all the edges with brown. I actually ink all my edges with brown or black, 
I just like the antiqued look of it.
I even included a strip of self stick magnet, if you prefer these on the fridge. I think this makes the cutest little gifts! All packaged and ready to give!
Related Posts Plugin for WordPress, Blogger...